The holiday season is upon us, and that means it’s time to deck the halls! Before you get on that ladder to start hanging your Christmas lights, though, take some time to prepare with these Christmas light installation tips. A great holiday display isn’t as simple as just draping some lights over your trees and around your windows – there’s a method underlying the process that will simplify and improve your holiday décor, ensuring that yours is the most attractive house in the neighborhood.
Plug It In

One of the first things you should do when installing Christmas lights, even before you go outside, is to take out all your lights and plug them in, checking for burned out lights. Though a faulty bulb here and there may seem like no big deal in a large display, these dead bulbs drain energy from the light string and can dim the entire strand. Instead of accepting a dead light here or there, swap them out for new bulbs to complete the strand.
In addition to testing your lights inside, take a quick trip out to your yard to look at your outlets. You should only plug exterior décor into ground fault circuit interrupter (GFCI) outlets. These outlets automatically turn off if an overcurrent occurs, which can prevent issues like electrical fires. Locate these outlets outside your home, and if you don’t have any, call an electrician to have them installed.
Plan It Out
The next step in the Christmas light installation process is to plan how you want to deck out your exterior. First, take a look at your home and assess where the functional lighting is. You don’t want your Christmas decor to interfere with those lights that offer security and safety, such as those along walkways and near entrances. You should be planning around these aspects of your home, not temporarily replacing them with decorative lighting.
Once you’ve gotten a sense of the space outside your home, you need to measure the areas you want to cover with lights – after all, you don’t want to end up on your roof trying to hang lights, only to realize you don’t have enough. Of course, it’s harder to measure trees and shrubs, but it’s also much easier to improvise those arrangements. You can’t alter the size of your windows, however.
Remember to measure all of your Christmas lights, and don’t assume any of the strands are identical unless they’re new in box. There isn’t a standard Christmas lighting length and strings of lights bought in different years may not be the same size.
Stick It On
Now that your lights have passed inspection, it’s time to actually install them. For some homes, this is very simple – there may already be hooks in place from years past so that you can just pop those lights right up. If you don’t have pre-installed hooks or you’re changing your arrangement, however, stop before you pull out that staple gun.
Because of the danger of accidentally piercing your wires with a piece of metal, it’s generally best to avoid installing Christmas lights using nails or a staple gun. Instead, use plastic hooks or, even better, electrical tape. Electrical tape is your all purpose friend when hanging Christmas lights. You should also wrap each connection between strands with electrical tape to prevent moisture from getting in and causing your lights to go out.
Style It Up

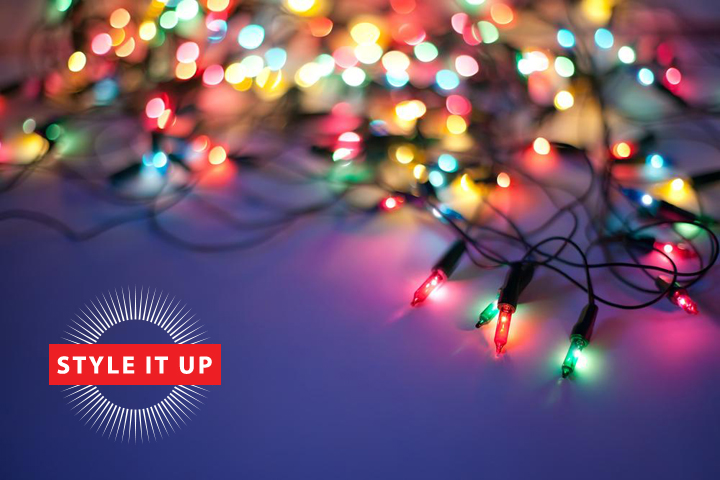
Now for the fun part: designing your complete Christmas light installation. There are lots of different approaches you can take that express your personal style. For beginners to the decorating game, or those who want to keep things cool and classy, go with a simple outline. Place your lights along gutters, windows, trees and bushes – you’ll want to use a mix of different types of white lights to do this (or go with the classic multicolored look), but skip pure whites or passing cars won’t be able to see where they’re going.
If you want to keep things simple but upgrade your look a little bit, try mixing in red lights with your white ones for a candy cane effect. You’ll want to create small blocks of each next to each other, rather than alternating one by one, to prevent it from turning into a pink blur.
Of course, for some, toned down Christmas lighting will never be the way, so don’t be afraid to go bold during this brief time of year. After all, the days get dark early, the kids are excited, and when else can you get away with turning you home into a rainbow-colored delight. If you’re going to go this route, use larger lights along your roof and slightly smaller ones around your windows. You can even add lights to your mailbox, put up a string tree, or wrap your wreaths and garlands. Or, if you’ve got a ton of lights on your hands, craft Santa a landing strip on your roof with bold stripes of lights.
Phone It In
Sure, you could carefully plan out your Christmas light installation, or you could take one look at that tangle of lights and tall ladder and call a professional. That’s where Proactive Landscaping comes in.
Proactive Landscaping specializes in landscaping, lawn care, and outdoor lighting for all occasions and we would be happy to help you turn your yard into a winter wonderland. We’ll do all the heavy lifting and treacherous climbing so that you can enjoy the beautiful – and safely installed – results.
Contact us today for a free quote or just let us know your budget. We’re happy to assess your yard and let you know what’s possible and practical for your home.
This winter, let the team at Proactive Landscaping be your Christmas elves. You shouldn’t have to huff and puff up and around your chimney to get a beautiful look home, and in fact, you don’t. There are better ways to light your home up. You sip the eggnog – we’ll do the work.

